It's beginning to look a lot like Christmas! Not only in the shops and the decorations but also in my scrapbook room. I LOVE Christmas. From Shopping, to wrapping, to Christmas Cards, to December Journals to well...EVERYTHING!
Hello December! I hope that you and i can get out act together this year! lol
With Christmas SO close I thought that I would share a layout that I created using the Kiwi Lane Design Templates!

The layout that I created for this month's project is from a Christmas Past. 2011 to be exact. You can't see the journaling because, well, it's hidden. But the story behind the photo more or less is my family went to the Texas Gaylord to see the Ice Exhibit. It was COLD! Really COLD! Which is why we all had on these big giant Parkas! But I caught this photo of my daughter and my husband smiling. And well, it was the perfect photo for this layout. I hope you like it!
To create this layout I used several different sets of Design Templates from Kiwi Lane. I also used the "Times & Seasons" Paper Collection from Echo Park as well as a sheet from the "For The Record" Collection from Echo Park and a sheet of Specialty Cardstock from Bazzill. (LOVE Bazzill, especially their Dotted Swiss Paper, which is NOT what I used, but I wanted to give a shout out to it anyway!)
Here is a list of the templates that I used to create my page:
Mini Abbie Road 1A
Scallop 1A
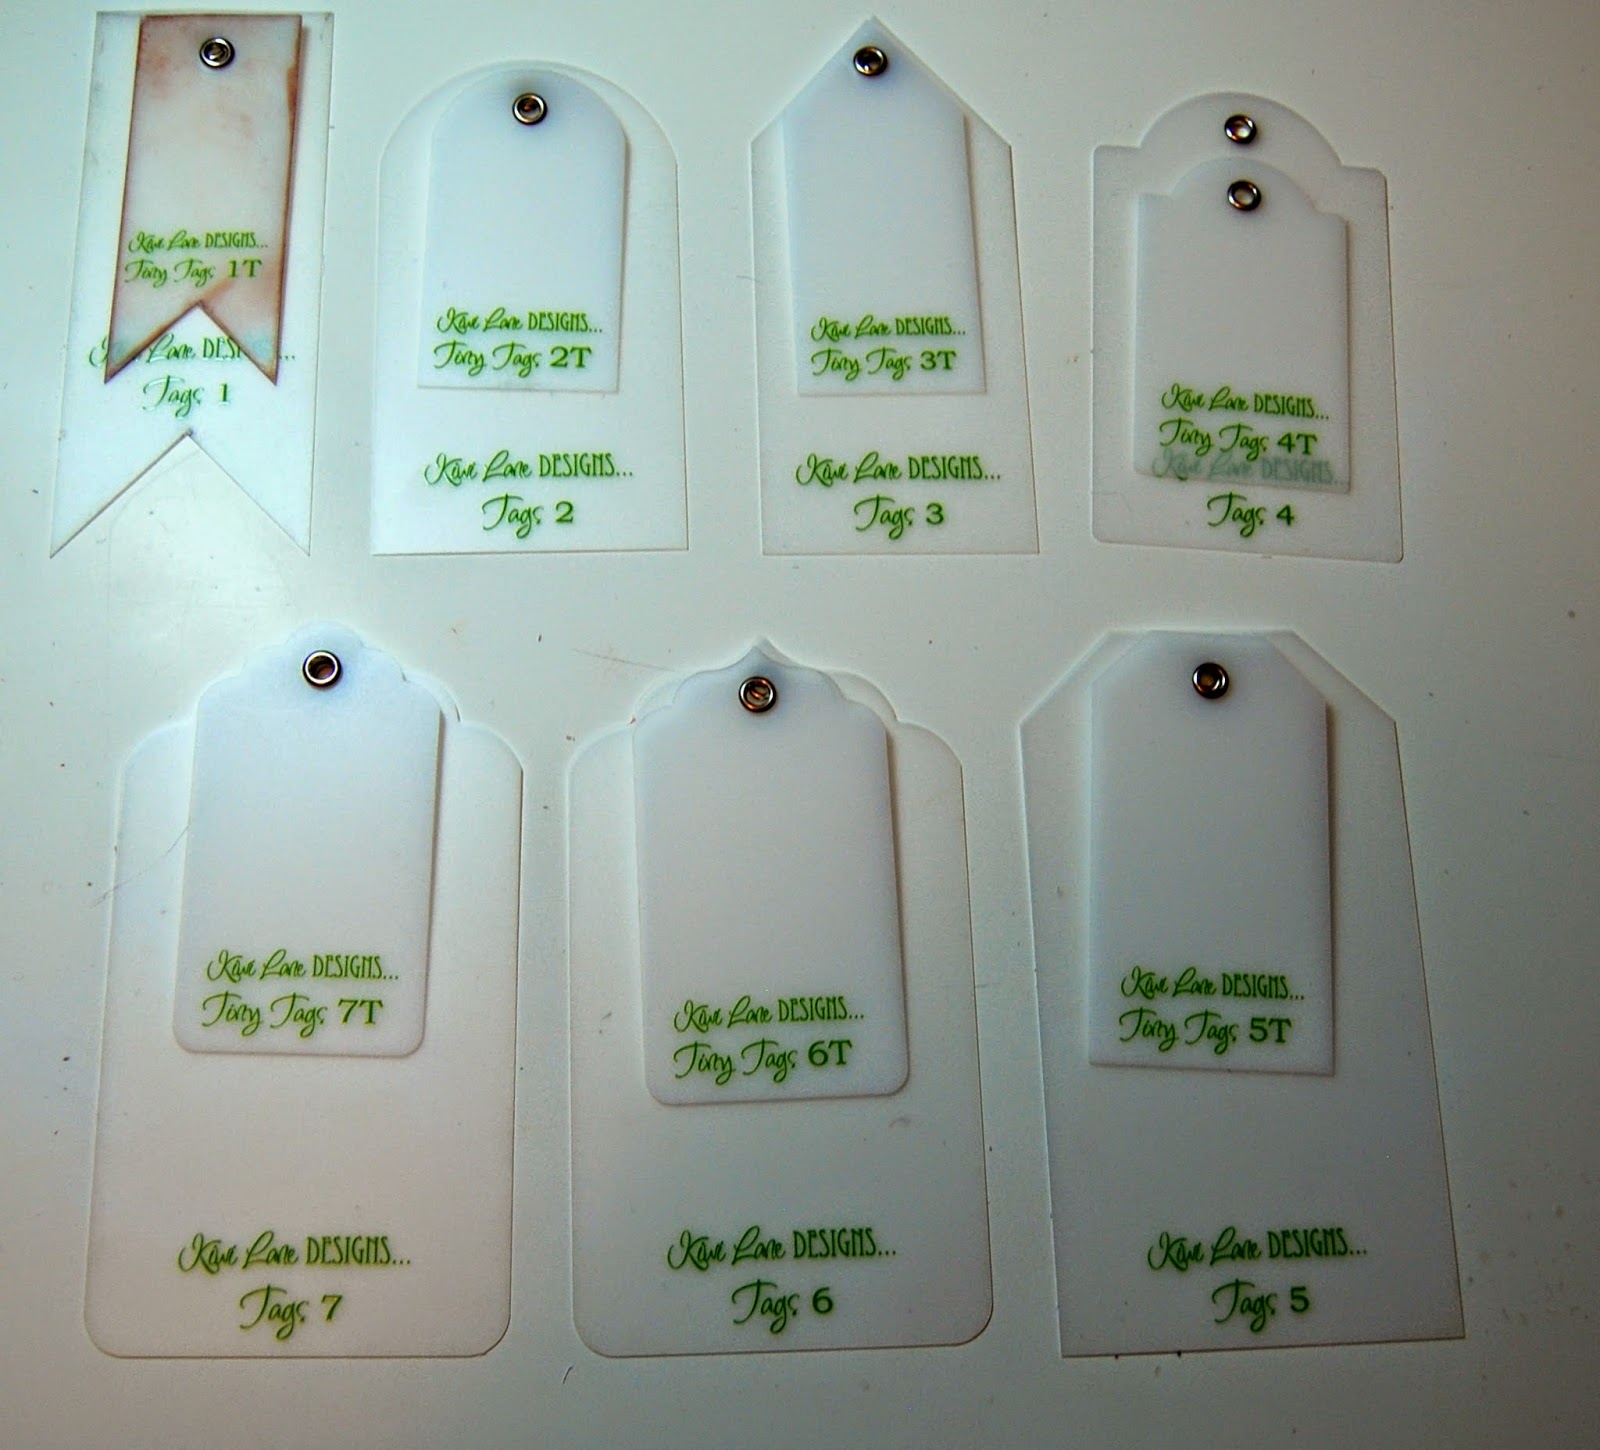
Tiny Tags 1A
Cedar Trails 1A
Winter 3
Christmas 2
12 Inch Strips


.jpg)

Hello December! I hope that you and i can get out act together this year! lol
With Christmas SO close I thought that I would share a layout that I created using the Kiwi Lane Design Templates!
The layout that I created for this month's project is from a Christmas Past. 2011 to be exact. You can't see the journaling because, well, it's hidden. But the story behind the photo more or less is my family went to the Texas Gaylord to see the Ice Exhibit. It was COLD! Really COLD! Which is why we all had on these big giant Parkas! But I caught this photo of my daughter and my husband smiling. And well, it was the perfect photo for this layout. I hope you like it!
To create this layout I used several different sets of Design Templates from Kiwi Lane. I also used the "Times & Seasons" Paper Collection from Echo Park as well as a sheet from the "For The Record" Collection from Echo Park and a sheet of Specialty Cardstock from Bazzill. (LOVE Bazzill, especially their Dotted Swiss Paper, which is NOT what I used, but I wanted to give a shout out to it anyway!)
Here is a list of the templates that I used to create my page:
Mini Abbie Road 1A
Scallop 1A
Tiny Tags 1A
Cedar Trails 1A
Winter 3
Christmas 2
12 Inch Strips
Now, let me tell you about the design of the layout. I created the back ground using the Scallop, the Cedar Trail, and believe it or not the Mini Abbie Border. I'm sure that you can tell where I used the Scallop and the Cedar Trail, but what about the Mini Abbie? I"ll help you out! I used it for the border underneath the tree. I actually only used the 1A Template for the entire 12 inch length by tracing it the way it appears on one half of the paper and then I flipped it over, matched up some areas and traced it on the remainder of the paper. I love the way it turned out. I usually do things by trial and error anyway, and well, this one worked out for me! :0)
Also, if you notice at the bottom of my page...it's not a straight edge. I decided to use the Cedar Trail Designer Template set and make it not so straight! :0) I LOVE the way tgit turned out and will most likely be doing this on more pages in the future!
Also, if you notice at the bottom of my page...it's not a straight edge. I decided to use the Cedar Trail Designer Template set and make it not so straight! :0) I LOVE the way tgit turned out and will most likely be doing this on more pages in the future!
For the tree I traced the Christmas Tree Template three different timehts and shorteneed the width each time. I then embossed each section of the tree, inked the edges and the embossed dots. Then I layered the trees and used pop dots to add dimension. Here's a SUPER close up photo of the tree. (The white border on the left hand side of my page is actually the background of what I take my photos on...the Christmas Tree is right there, exactly on that edge).
The upper right hand corner of the layout needed something and i thought adding the holly leaf and berries was perfect!
And what would a layout be without having a banner on it, even if it's at the bottom of the layout? Well I added one! Because just like the Scallop Border Template I LOVE the Tiny Tags 1A Template! I use those to in my layouts alot!
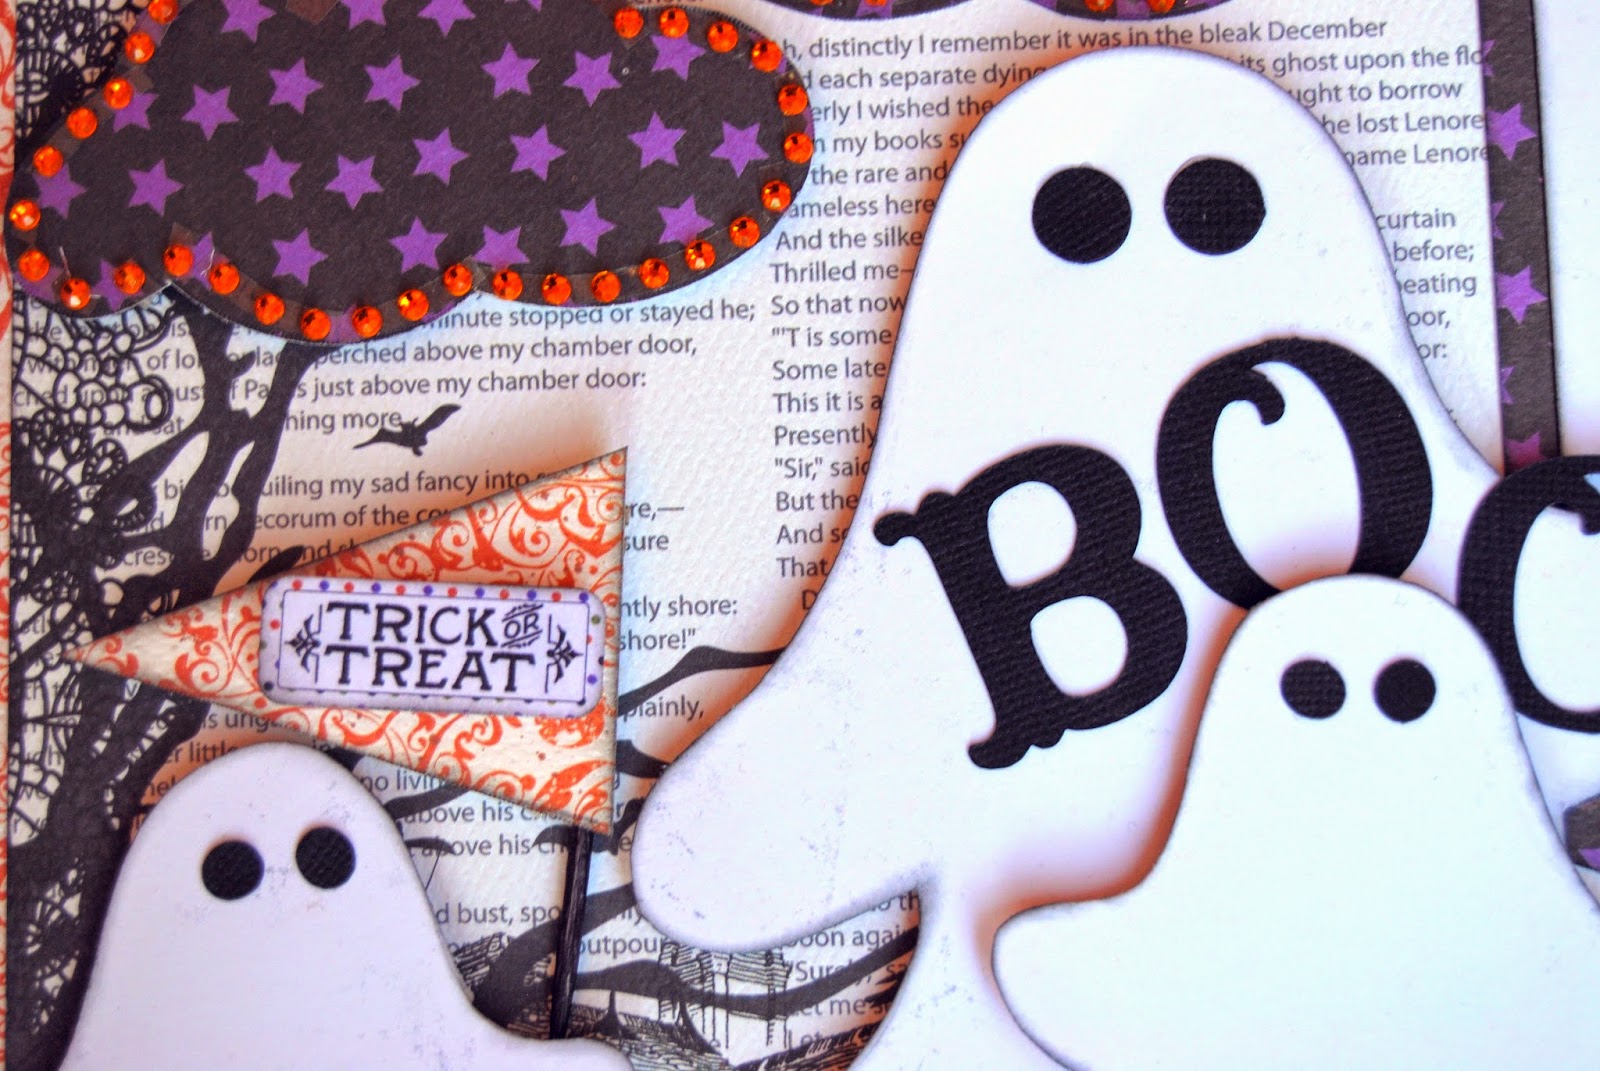
I hope you enjoyed my project for this month. I LOVE creating things with the Kiwi Lane Designer Templates! Even though this is a Christmas Layout you can change a few things like add a ghost or a pumpkin where the tree is, take away the Holly and Berries, add something else there and add a "BOO" to the Banner for a Halloween Layout. The possibilities are endless~
Be sure to stop by the Kiwi Lane Designs Blog and Facebook Page for MORE ideas on how to use the Kiwi Lane Designs Templates! And remember, to shop early for YOUR Christmas Present! (Kiwi Lane Designs has a few things in their Shop that I wouldn't mind having! )
Merry Christmas!